BUGS~4
PSP8/9/X

This tutorial was
written by Jemima ~ 2008
Copyright © 2008 ~ Jemima
~ All rights reserved
********************************
This was created using PSP9 but can be adapted for other versions of PSP.
You will need the
following to complete this tutorial
Materials
RIGHT CLICK >>> SAVE TARGET AS
Butterflies.ttf
Save to your WINDOWS >>> FONTS folder
or
to a folder where you store your extra fonts.
********************************
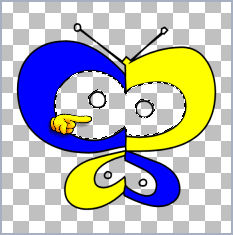
BUTTERFLY
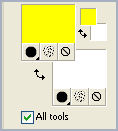
In your MATERIALS PALETTE
Load SOLID BLACK in your foreground
NULL your background
Open a new image 600 x 600
Transparent background
PSPX: Colour Depth = 8bits/channel
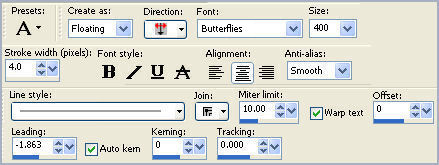
Select your TEXT tool
Locate the Butterflies font
Use these settings
Line style = SOLID
Position your cursor about 500 pixels down on the blank image
and enter the letter " I " ( Uppercase i )
Reposition with your MOVER tool to the centre of your image
DESELECT
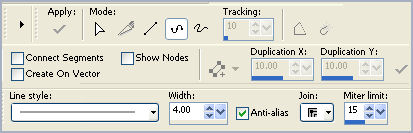
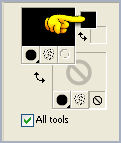
Select your PEN tool
Use these settlings
LINE STYLE = SOLID
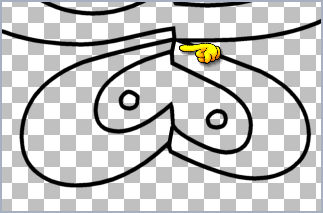
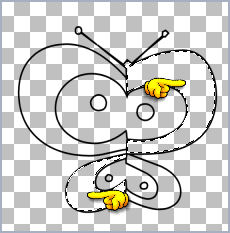
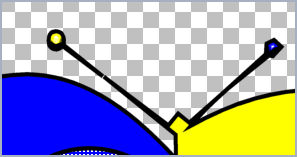
Click once on the bottom of the wing as indicated then
click once on the line above as indicated.
Make sure there are no gaps.
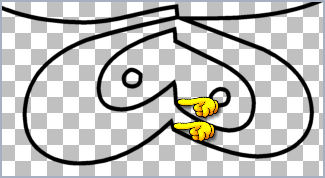

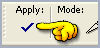
Click the APPLY button
Moving up.... to the top of the lower wings...
Click once on the bottom of the wing as indicated then
click once on the line above as indicated.
Make sure there are no gaps.

Click the APPLY button
Moving up again.... do the same on the upper wings where indicated
and DONT FORGET to click the APPLY button before
going to the next connecting line.
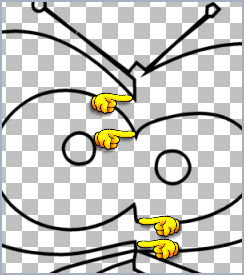
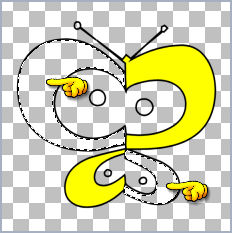
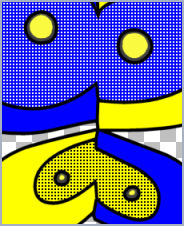
Your butterfly wings should now be joined in the places shown below

OK let's get colouring....
In your MATERIALS PALETTE
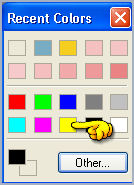
RIGHT click on the small FOREGROUND palette box
and select the standard YELLOW
 . . 
Release the NULL on your background palette.
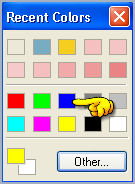
RIGHT click on the small BACKGROUND palette box
and select the standard BLUE
 . . 
With your MAGIC WAND
Mode = Replace
Match Mode = RGB Value
Tolerance = 0
Feather = 0
Antialias = UNchecked
Sample Merged = UNCHECKED
PSP9/X: Check CONTIGUOUS
PSPX: There is no " Sample Merged"
PSPX: Use all layers = UNChecked
and using your SHIFT key....
Select the areas indicated below.
SELECTIONS >>> MODIFY >>> EXPAND = 2
LAYERS >>> NEW RASTER LAYER
LAYERS >>> ARRANGE >>> MOVE DOWN
Flood fill with the YELLOW
DESELECT
Activate Raster 1
With your MAGIC WAND
Same settings...
and using your SHIFT key....
Select the areas indicated below.
SELECTIONS >>> MODIFY >>> EXPAND = 2
Activate Raster 2
Flood fill with the BLUE
DESELECT
Activate Raster 1
With your MAGIC WAND
Same settings...
Select the area indicated below.
SELECTIONS >>> MODIFY >>> EXPAND = 2
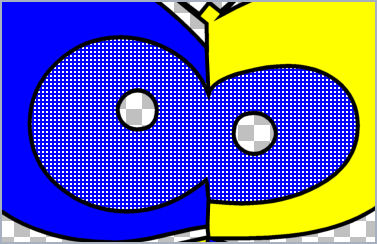
Activate Raster 2
Flood fill with the BLUE
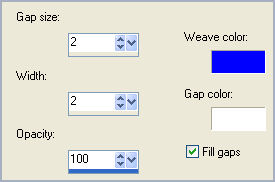
EFFECTS >>> TEXTURE EFFECTS >>> WEAVE
DESELECT
Activate Raster 1
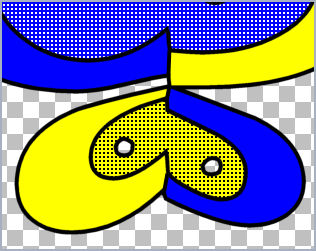
With your MAGIC WAND
Same settings...
Select the area indicated below.
SELECTIONS >>> MODIFY >>> EXPAND = 2
Activate Raster 2
Flood fill with the YELLOW
EFFECTS >>> TEXTURE EFFECTS >>> WEAVE
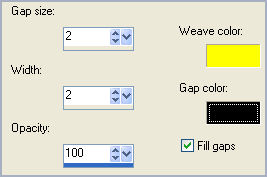
DESELECT
Activate Raster 1
With your MAGIC WAND
Same settings...
and using your SHIFT key....
Select the areas indicated below.
SELECTIONS >>> MODIFY >>> EXPAND = 2
Activate Raster 2
Flood fill with the BLACK
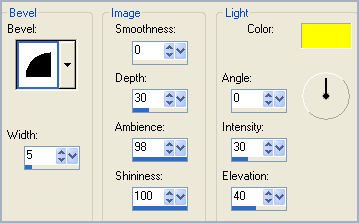
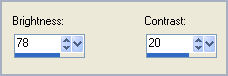
EFFECTS >>> 3D EFFECTS >>> INNER BEVEL
ADJUST >>> BRIGHTNESS and CONTRAST >>> BRIGHTNESS/CONTRAST
DESELECT
Activate Raster 1
With your MAGIC WAND
Same settings...
and using your SHIFT key....
Select the areas indicated below.

SELECTIONS >>> MODIFY >>> EXPAND = 2
Activate Raster 2
Flood fill with the LEFT SELECTION with YELLOW
and the RIGHT SELECTION with BLUE
EFFECTS >>> 3D EFFECTS >>> INNER BEVEL
Same settings BUT
CHANGE the COLOUR to WHITE
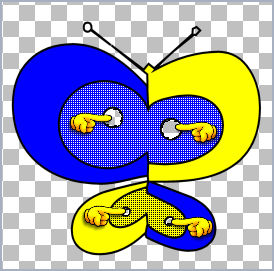
DESELECT
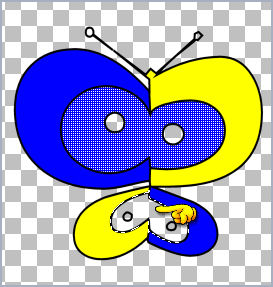
LAYERS >>> MERGE >>> MERGE VISIBLE
Save as .psp image
There's quite a few butterflies in this font that you can create using
patterns/gradients/textures etc..
to your individual taste.
Have fun!!
Page designed by

for
http://www.artistrypsp.com/
Copyright ©
2000-2008 Artistry In PSP / PSP Artistry
All rights reserved.
Unless specifically made available for
download,
no graphics or text may be removed from
this site for any reason
without written permission from Artistry
In PSP / PSP Artistry
|
